
How to Make Herbal Salves
Learn the basic salve method: combine a finished herbal infused oil with beeswax, test the texture, adjust it to your preference, then pour and cool.
Learn the Method ↓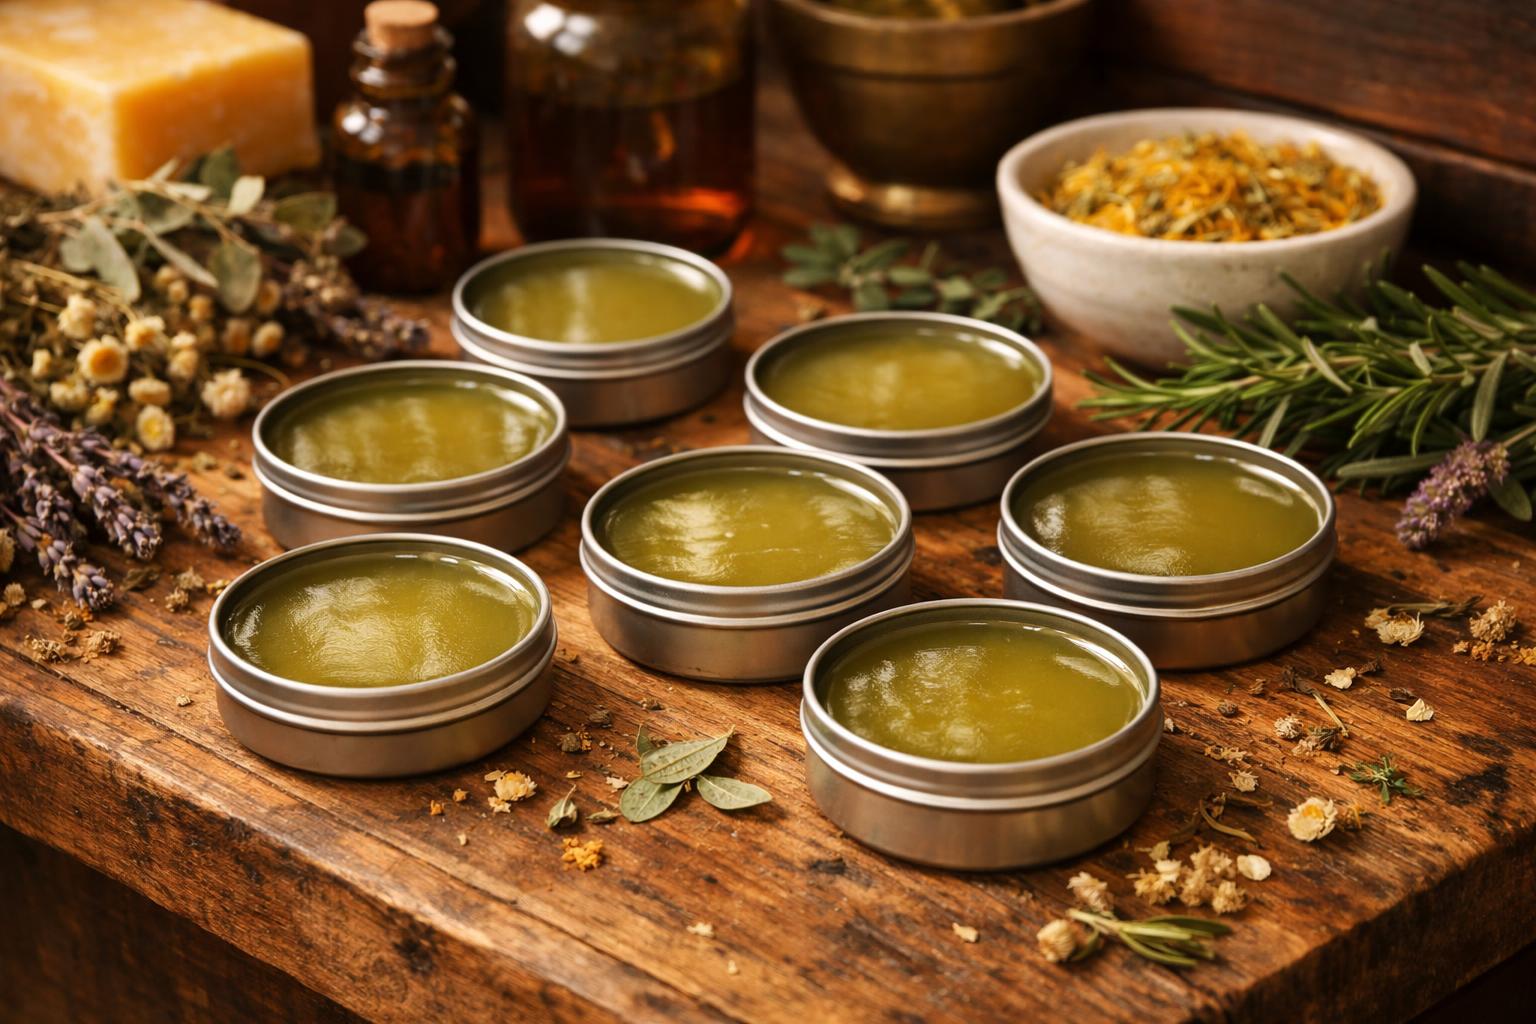
What Is a Salve?
Infused Oil
The infused oil is the liquid base of the salve. It may contain one herb or a blend of herbs, depending on the recipe.
Beeswax
Beeswax changes the liquid oil into a semi-solid preparation that is easier to apply and stays in place on the skin.
What You'll Need
Start With a Practical Beeswax Amount
Gathered Remedies Starting Formula
A good starting point for a soft-to-medium everyday salve.
This is about 14 g beeswax for every 4 fl oz of infused oil. From there, use the spoon test and adjust the finished texture to your preference.
How to Make a Basic Herbal Salve
Prepare the containers
Make sure tins or jars are clean and completely dry. Set them out before heating the salve.
Measure the oil and beeswax
For a starting batch, use 4 fl oz infused oil and 0.5 oz (14 g) beeswax.
Warm gently
Combine the oil and beeswax in a double boiler or heat-safe cup over gently simmering water.
Stir until fully melted
Use low, indirect heat and stir occasionally until no visible pieces of beeswax remain.
Do the spoon test
Place a few drops on a chilled spoon, let them cool for a minute or two, and check the texture.
Adjust if needed
Add a little more wax for a firmer salve or a little more infused oil for a softer one. Re-test before pouring.
Add optional extras
If using vitamin E, add it after removing the mixture from heat. Vitamin E acts as an antioxidant for oils; it is not a preservative.
Pour and cool
Pour into dry containers while still liquid. Leave uncovered until fully cool and firm, then cap and label.
How to Get the Texture You Want
Test Before You Pour
Chill a metal spoon for several minutes. Place a few drops of the melted salve onto the spoon and allow them to set.
If the cooled salve feels too soft, return the mixture to gentle heat and add a small amount of beeswax. If it feels too firm, add a small amount of infused oil.
This is more reliable than trying to force every salve into a fixed ratio.
Basic Batch Sizes
| Infused Oil | Starting Beeswax | Approx. Use |
|---|---|---|
| 2 fl oz | 0.25 oz / 7 g | Small test batch |
| 4 fl oz | 0.5 oz / 14 g | Standard home batch |
| 8 fl oz | 1 oz / 28 g | Larger batch |
A Few Things That Matter
Why Keep Water Out?
Water changes the preservation needs of the formula and can encourage microbial growth. Keep tools and containers dry when making an oil-and-wax salve.
Does Vitamin E Preserve It?
No. Vitamin E can help slow oxidation of oils, but it does not function as a broad-spectrum preservative.
How Long Will It Last?
Shelf life depends largely on the freshness and stability of the carrier oils. Discard the salve if the odor becomes rancid or if you notice moisture, mold, or another sign of spoilage.
Ready to Make a Complete Recipe?
Use the Plantain & Calendula Salve recipe for exact oil amounts, beeswax weight, scaling, storage, and step-by-step directions.
Practical herbal education, infused oils, natural wellness tools, and home apothecary resources designed to help you create effective herbal remedies with confidence.
Privacy Policy
Terms & Conditions
Disclaimer
Affiliate Disclosure
Medical Disclaimer
Returns/Refund Policy
Contact
YouTube
Email Newsletter
© 2026 Gathered Remedies • All Rights Reserved
Educational purposes only.
This website does not provide medical advice.
“Helping modern herbalists create practical remedies through infused oils, herbal education, and home apothecary tools.”