How to Make Herbal Infused Oils | Gathered Remedies
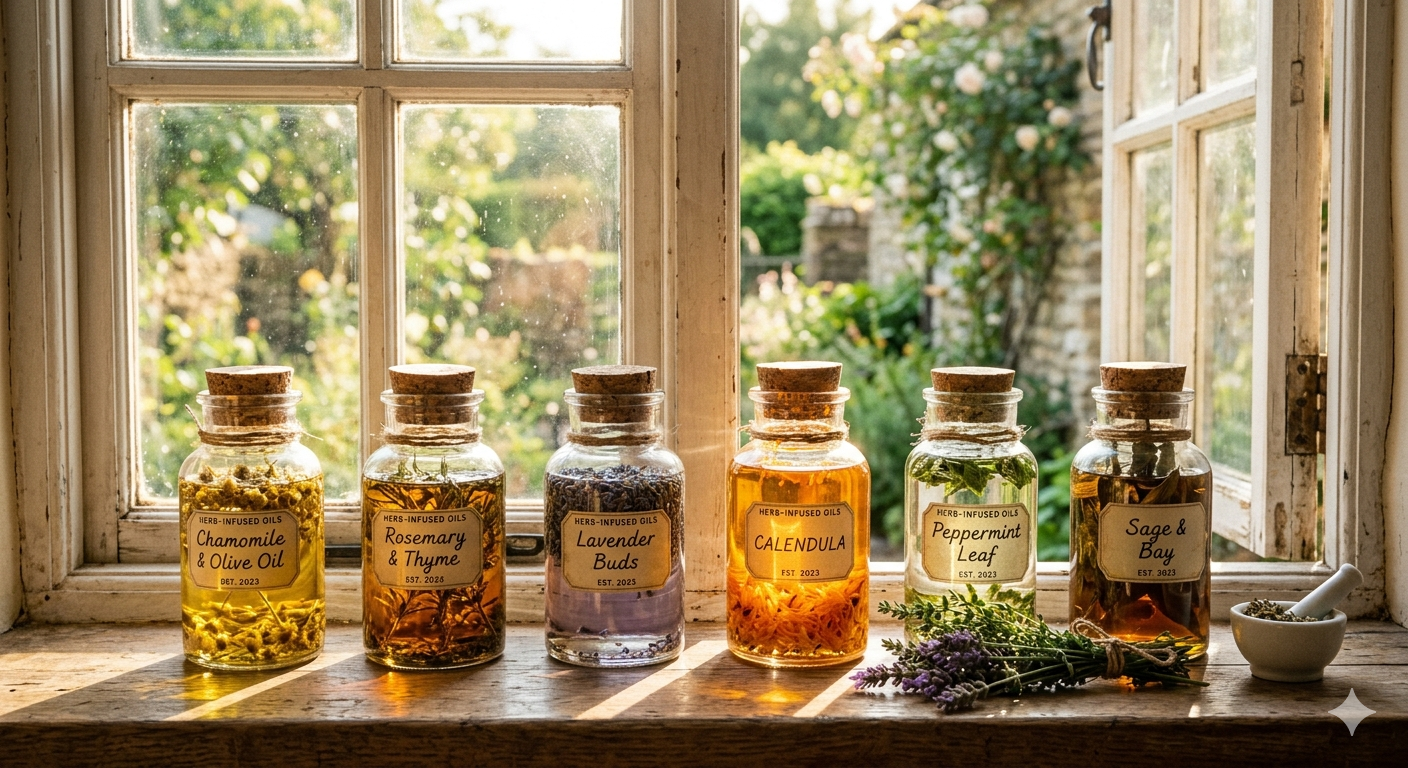
Sunlit apothecary workbench with herbs and oil
Gathered Remedies · Herbal Education

How to Make Herbal Infused Oils

Learn the traditional and modern methods herbalists use to capture the benefits of herbs in nourishing oils.

A Beginner's Guide · Traditional & Modern Methods
Welcome, Herb Friend

There's something quietly sacred about watching golden oil slowly draw the color, scent, and goodness out of the herbs you've grown and dried with your own hands. An herbal infused oil is simply a carrier oil — like olive or sweet almond — that has been steeped with botanicals until the oil takes on the plant's beneficial compounds. No fancy chemistry, no expensive equipment. Just herbs, oil, time, and a little patience.

Herbalists have made infused oils for centuries because they are one of the most versatile preparations in the home apothecary. A single jar of calendula oil can become the base for a healing salve, a soothing body oil, a gentle balm for dry skin, or a nourishing addition to your daily care routine. Once you learn this one skill, dozens of other remedies open up to you.

🌿 Common Carrier Oils

Olive oil (the classic workhorse), sweet almond, jojoba, avocado, sunflower, and fractionated coconut (MCT) oil. Each has its own feel, shelf life, and best use — we'll compare them in Section 2.

🌼 Common Herbs for Infusing

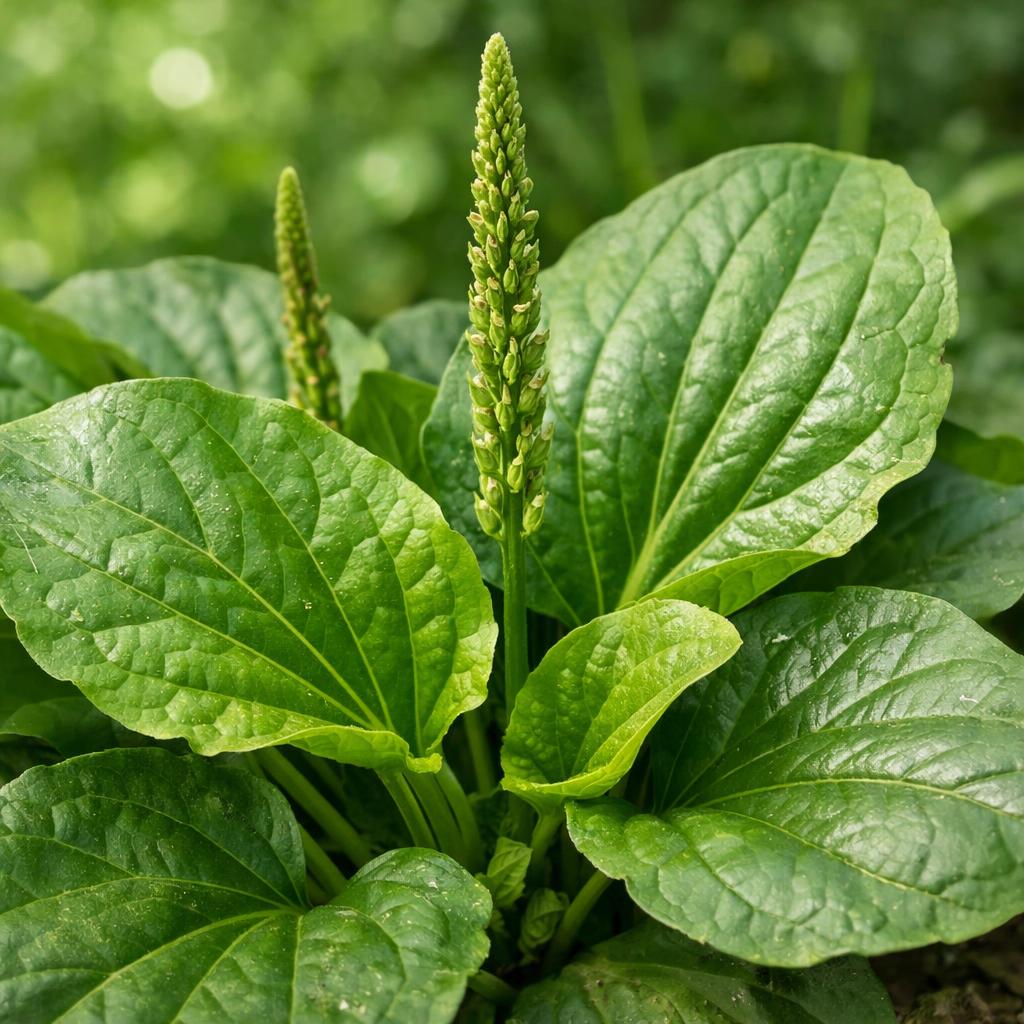
Calendula, plantain, lavender, chamomile, rosemary, lemon balm, and chickweed are beloved beginner herbs — gentle, forgiving, and wonderfully useful for the skin.

Why bother making your own? Because you control every ingredient. You know the herbs are clean, the oil is fresh, and nothing unnecessary was added. Homemade infused oils are economical, deeply satisfying, and a beautiful way to bring the garden into your daily life.

🌿Herbs
🫒Oil
Infusion
🍯Finished Herbal Oil
Section One

Choosing Your Herbs

The single most important decision you'll make — and the one place beginners most often go wrong.

Fresh Herbs

Pros

  • Vibrant color and aroma
  • Useful for certain herbs like St. John's Wort
  • Available straight from the garden

Cons

  • High water content invites mold and rancidity
  • Shorter shelf life once infused
  • Requires careful wilting first

Moisture Concerns

Water is the enemy of a good oil. Even a few drops trapped under the oil can spoil an entire batch. If you use fresh herbs, wilt them 12–24 hours first to release excess moisture.

Dried Herbs

Pros

  • No water means far less risk of spoilage
  • Longer, more reliable shelf life
  • Available year-round
  • Forgiving and consistent for beginners

Cons

  • Slightly less vibrant color than fresh
  • Quality depends on proper drying

When to Use

Nearly always — especially when you're starting out. Properly dried herbs give you the safest, most dependable infusion every single time.

Why Beginners Should Start With Dried Herbs

Moisture causes spoilage, and spoilage wastes both your herbs and your oil. Dried herbs remove that risk almost entirely. Master your technique with dried botanicals first — once you understand how a good infusion behaves, you can experiment with fresh herbs later.

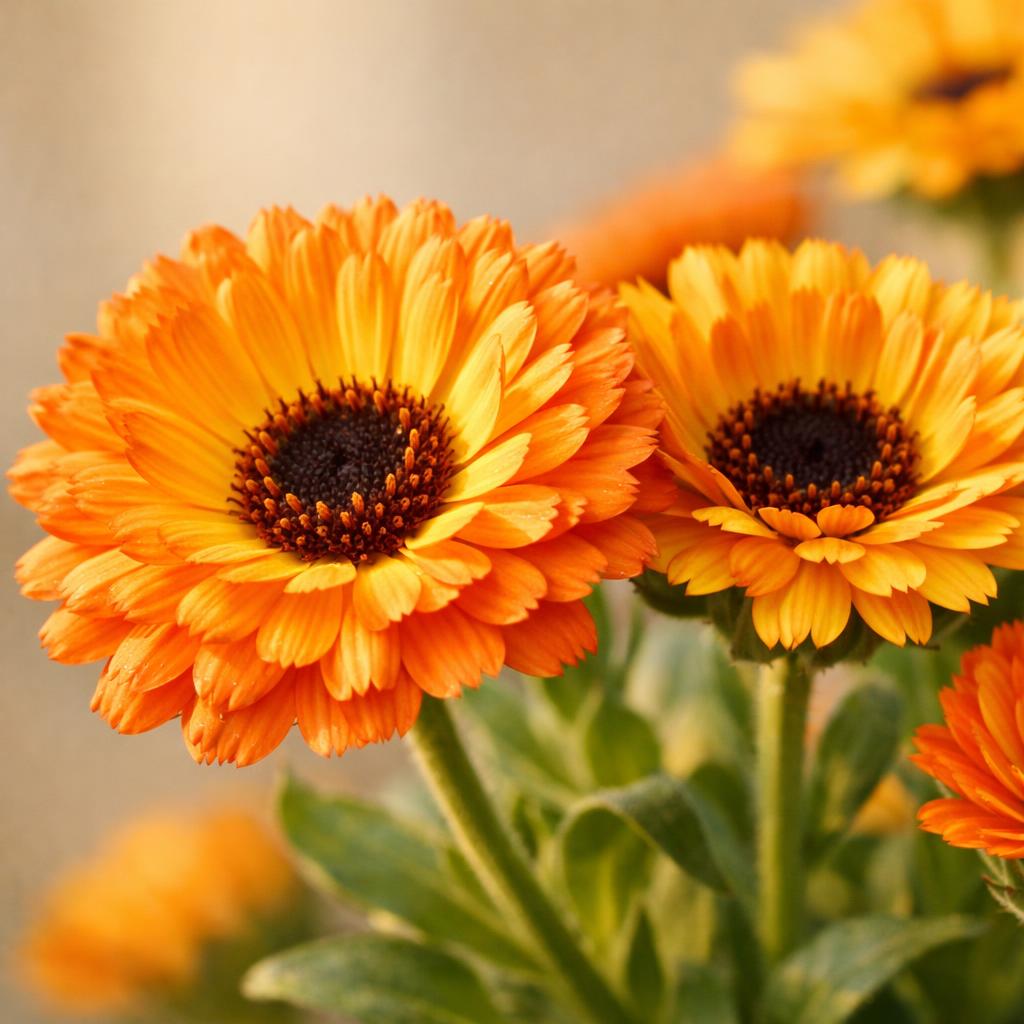
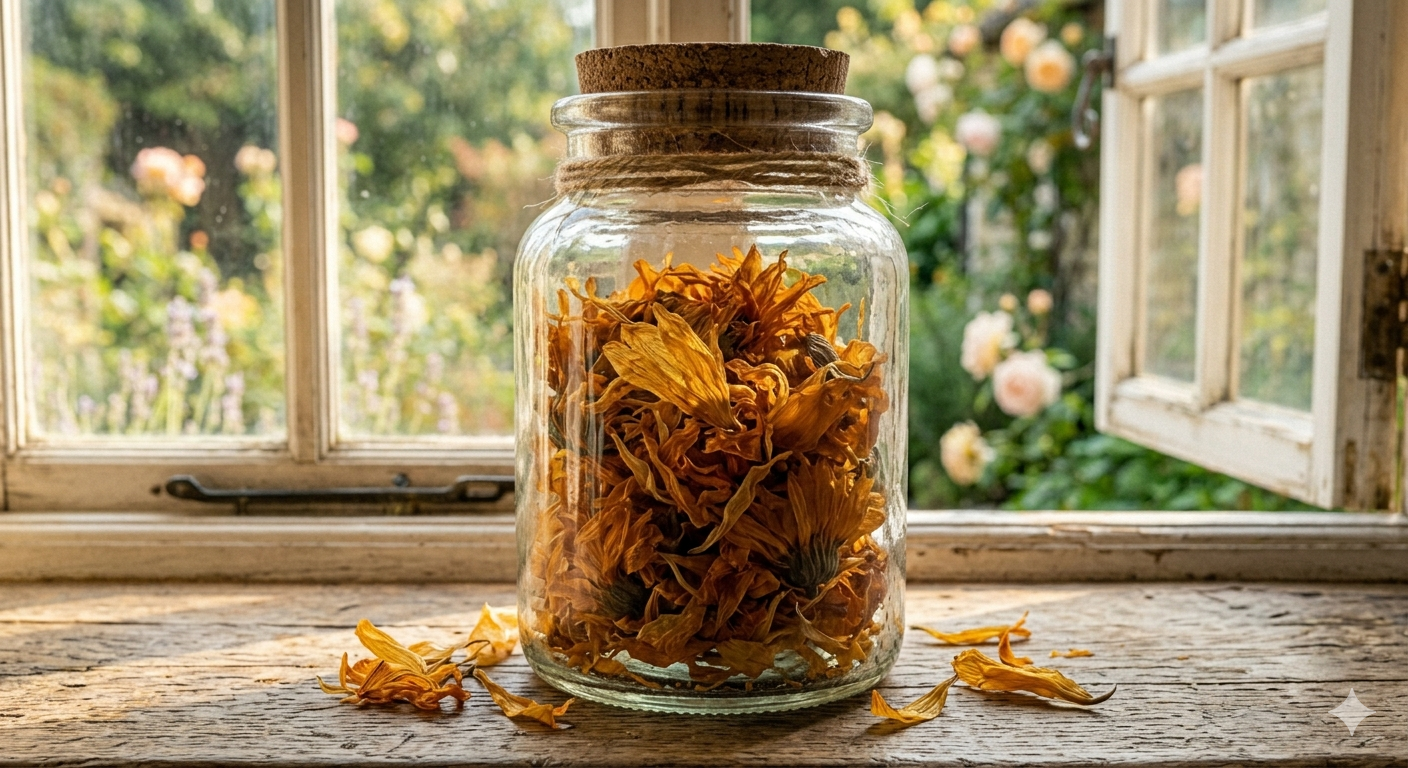
Fresh calendula blossoms Dried calendula petals
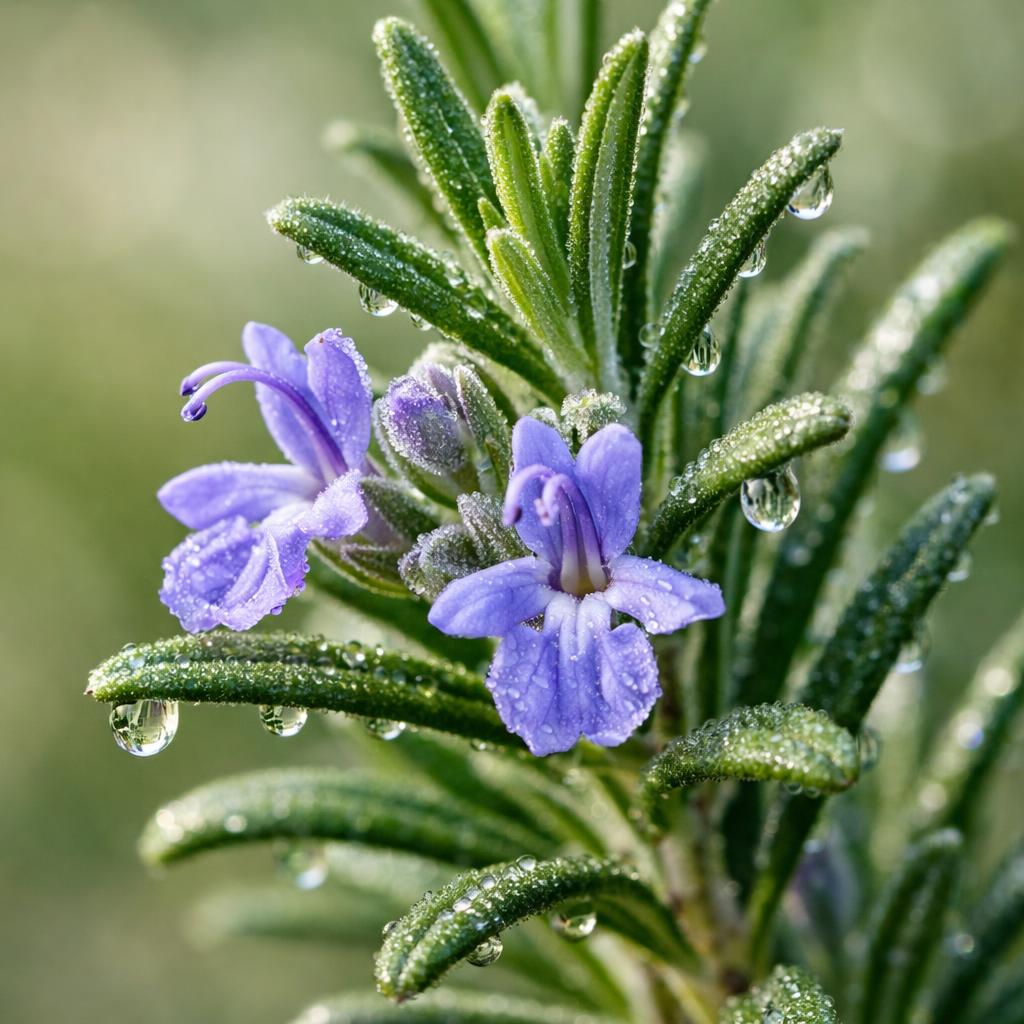
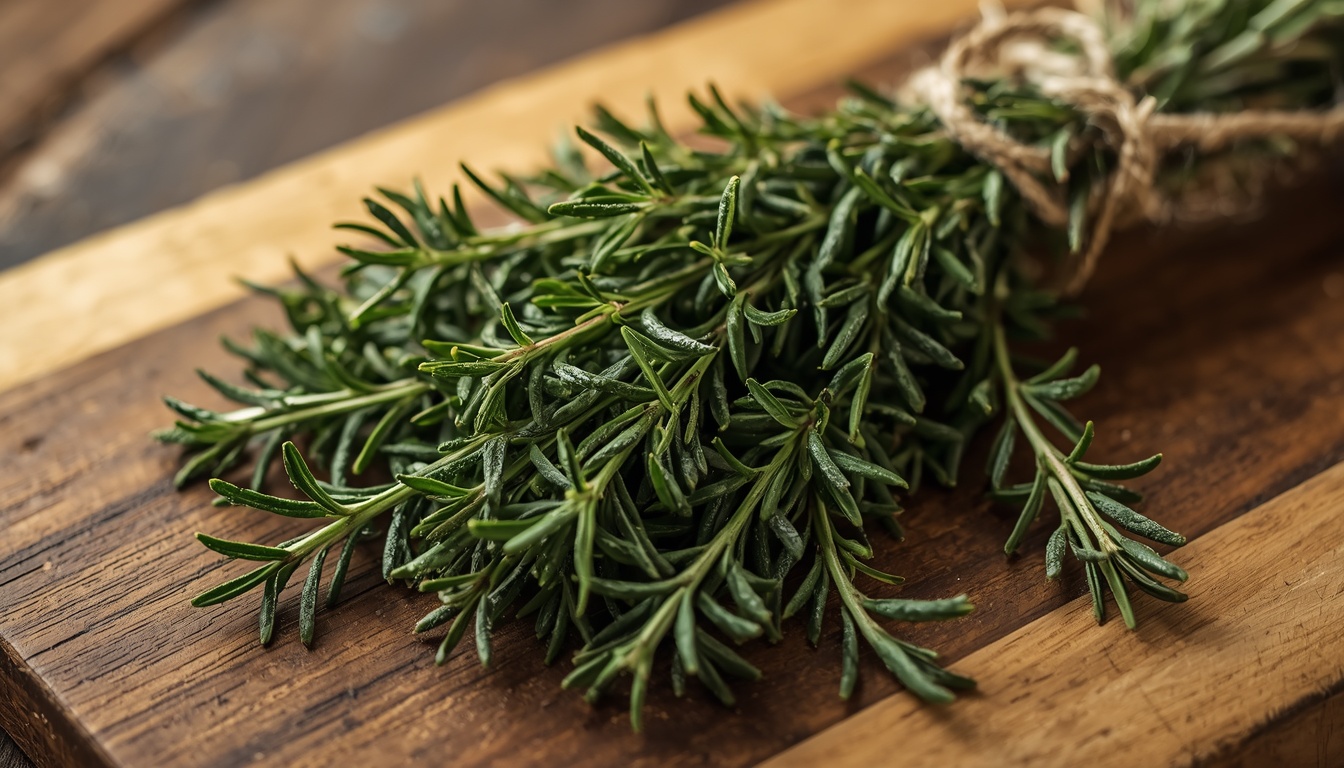
Fresh rosemary sprigs Dried rosemary
Section Two

Choosing Your Carrier Oil

Your carrier oil shapes the feel, scent, shelf life, and purpose of your finished remedy.

OilBenefitsShelf LifeBest UsesSkin Feel
Olive Oil Affordable, rich in antioxidants, deeply nourishing — the classic herbalist staple 1–2 years Salves, balms, all-purpose infusions Rich, slightly heavy
Avocado Oil High in vitamins A, D & E; excellent for dry, mature skin ~1 year Body oils, dry-skin balms Rich, cushioning
Jojoba Oil Closely mimics skin's natural sebum; extremely stable 5+ years Facial oils, rollers, longer-keeping blends Silky, fast-absorbing
Sweet Almond Oil Gentle, softening, well-tolerated by most skin ~1 year Body oils, massage oils, baby-gentle blends Light, smooth
Sunflower Oil Light, affordable, high in vitamin E ~1 year Lighter salves, everyday body oils Light, non-greasy
Fractionated Coconut (MCT) Liquid at room temp, odorless, very long-lasting 2+ years Roller bottles, perfume oils, blends needing stability Dry, ultra-light

🫒 Which Oil Should You Use?

Honestly? The one you love working with. That said, things like how quickly an oil absorbs, its scent, its texture, and even its color can all steer your choice.

If you're just getting started, keep it simple and reach for olive oil or fractionated coconut oil — both keep well, are easy to find, and suit nearly every project from skin care to the kitchen.

Method One

The Traditional Solar Infusion

The classic herbalist approach — slow, gentle, and beautifully simple.

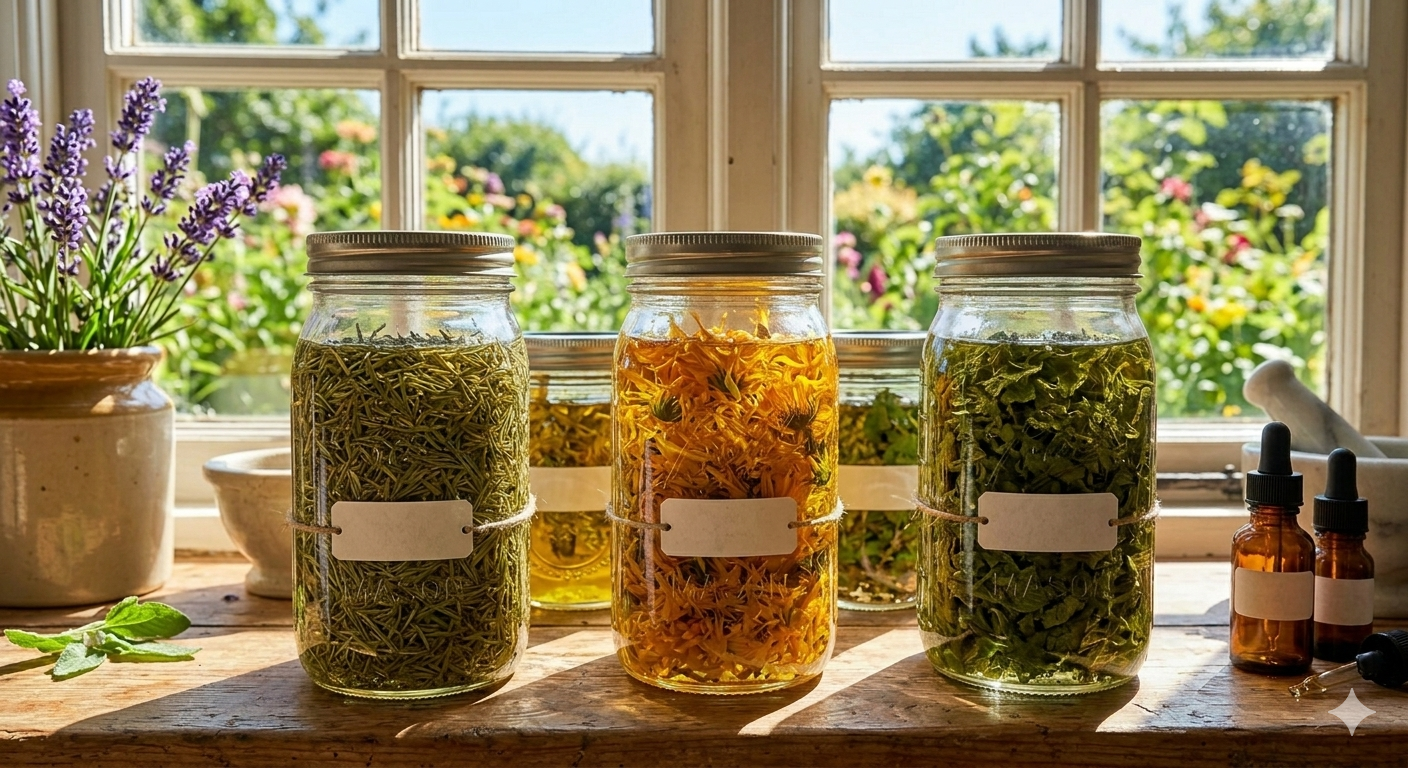
Jars of infusing oil on a sunny windowsill

Supplies Needed

  • Clean glass jar with tight lid
  • Dried herbs of choice
  • Carrier oil
  • Label & pen
  • Cheesecloth (for straining later)

Fill your jar

Add dried herbs until the jar is one-half to two-thirds full.

Cover with oil

Pour your carrier oil over the herbs until they're completely submerged.

Release air bubbles

Stir gently with a clean chopstick to coax out trapped air pockets.

Cap tightly

Seal the jar securely to keep moisture and dust out.

Label & date

Note the herb, oil, and the day you started — your future self will thank you.

Let it infuse

Set the jar in a warm, sunny spot for 4–6 weeks.

Shake daily

Give the jar a gentle swirl each day to keep herbs moving through the oil.

Strain

Pour through cheesecloth, squeezing to recover every drop of golden oil.

Bottle & label

Transfer to a clean bottle, label with the date, and store away from light.

Step-by-step infusion photo sequence

Pro Tips

  • A south-facing windowsill gives gentle, steady warmth without overheating.
  • If you live somewhere cold or cloudy, the warmth of the sun isn't essential — a warm cupboard works too. This method is sometimes simply called a "cold infusion."
  • Always keep herbs fully submerged. Any plant material poking above the oil can mold.
  • Patience pays off — a longer infusion yields a richer, more potent oil.
Method Two

The Slow Cooker Method

A faster path to finished oil — ready in hours instead of weeks.

Supplies Needed

  • Slow cooker (crock pot)
  • Mason jar with lid
  • Dried herbs & carrier oil
  • Kitchen towel
  • Thermometer

Fill your jar

Add dried herbs and oil to a mason jar, just as in the solar method.

Cushion the jar

Fold a towel and place it on the bottom of the slow cooker, then set the jar on top.

Add a water bath

Pour water around the jar until it reaches partway up the sides.

Warm gently

Keep the heat low and steady, aiming for 95–120°F. Use a thermometer to check.

Infuse

Let it warm gently for 6–12 hours, checking the temperature periodically.

Strain & bottle

Strain through cheesecloth and bottle your finished oil.

Advantages

  • Ready in hours, not weeks
  • Gentle heat draws out compounds quickly
  • Great when you need oil for a project soon

Disadvantages

  • Requires monitoring to avoid overheating
  • Heat can degrade delicate aromatic herbs
  • Temperatures vary between slow cookers

Safety Tips

  • Never let the oil exceed 120°F — high heat destroys beneficial compounds and risks frying the herbs.
  • Keep the lid loosely on the jar so pressure doesn't build.
  • Use the "warm" or lowest setting; many slow cookers run hot even on low.
  • Never leave a heated infusion unattended overnight.
Mason jar in a slow cooker water bath
Method Three

The Infuzium Method

Modern precision infusion — consistent results with the touch of a button.

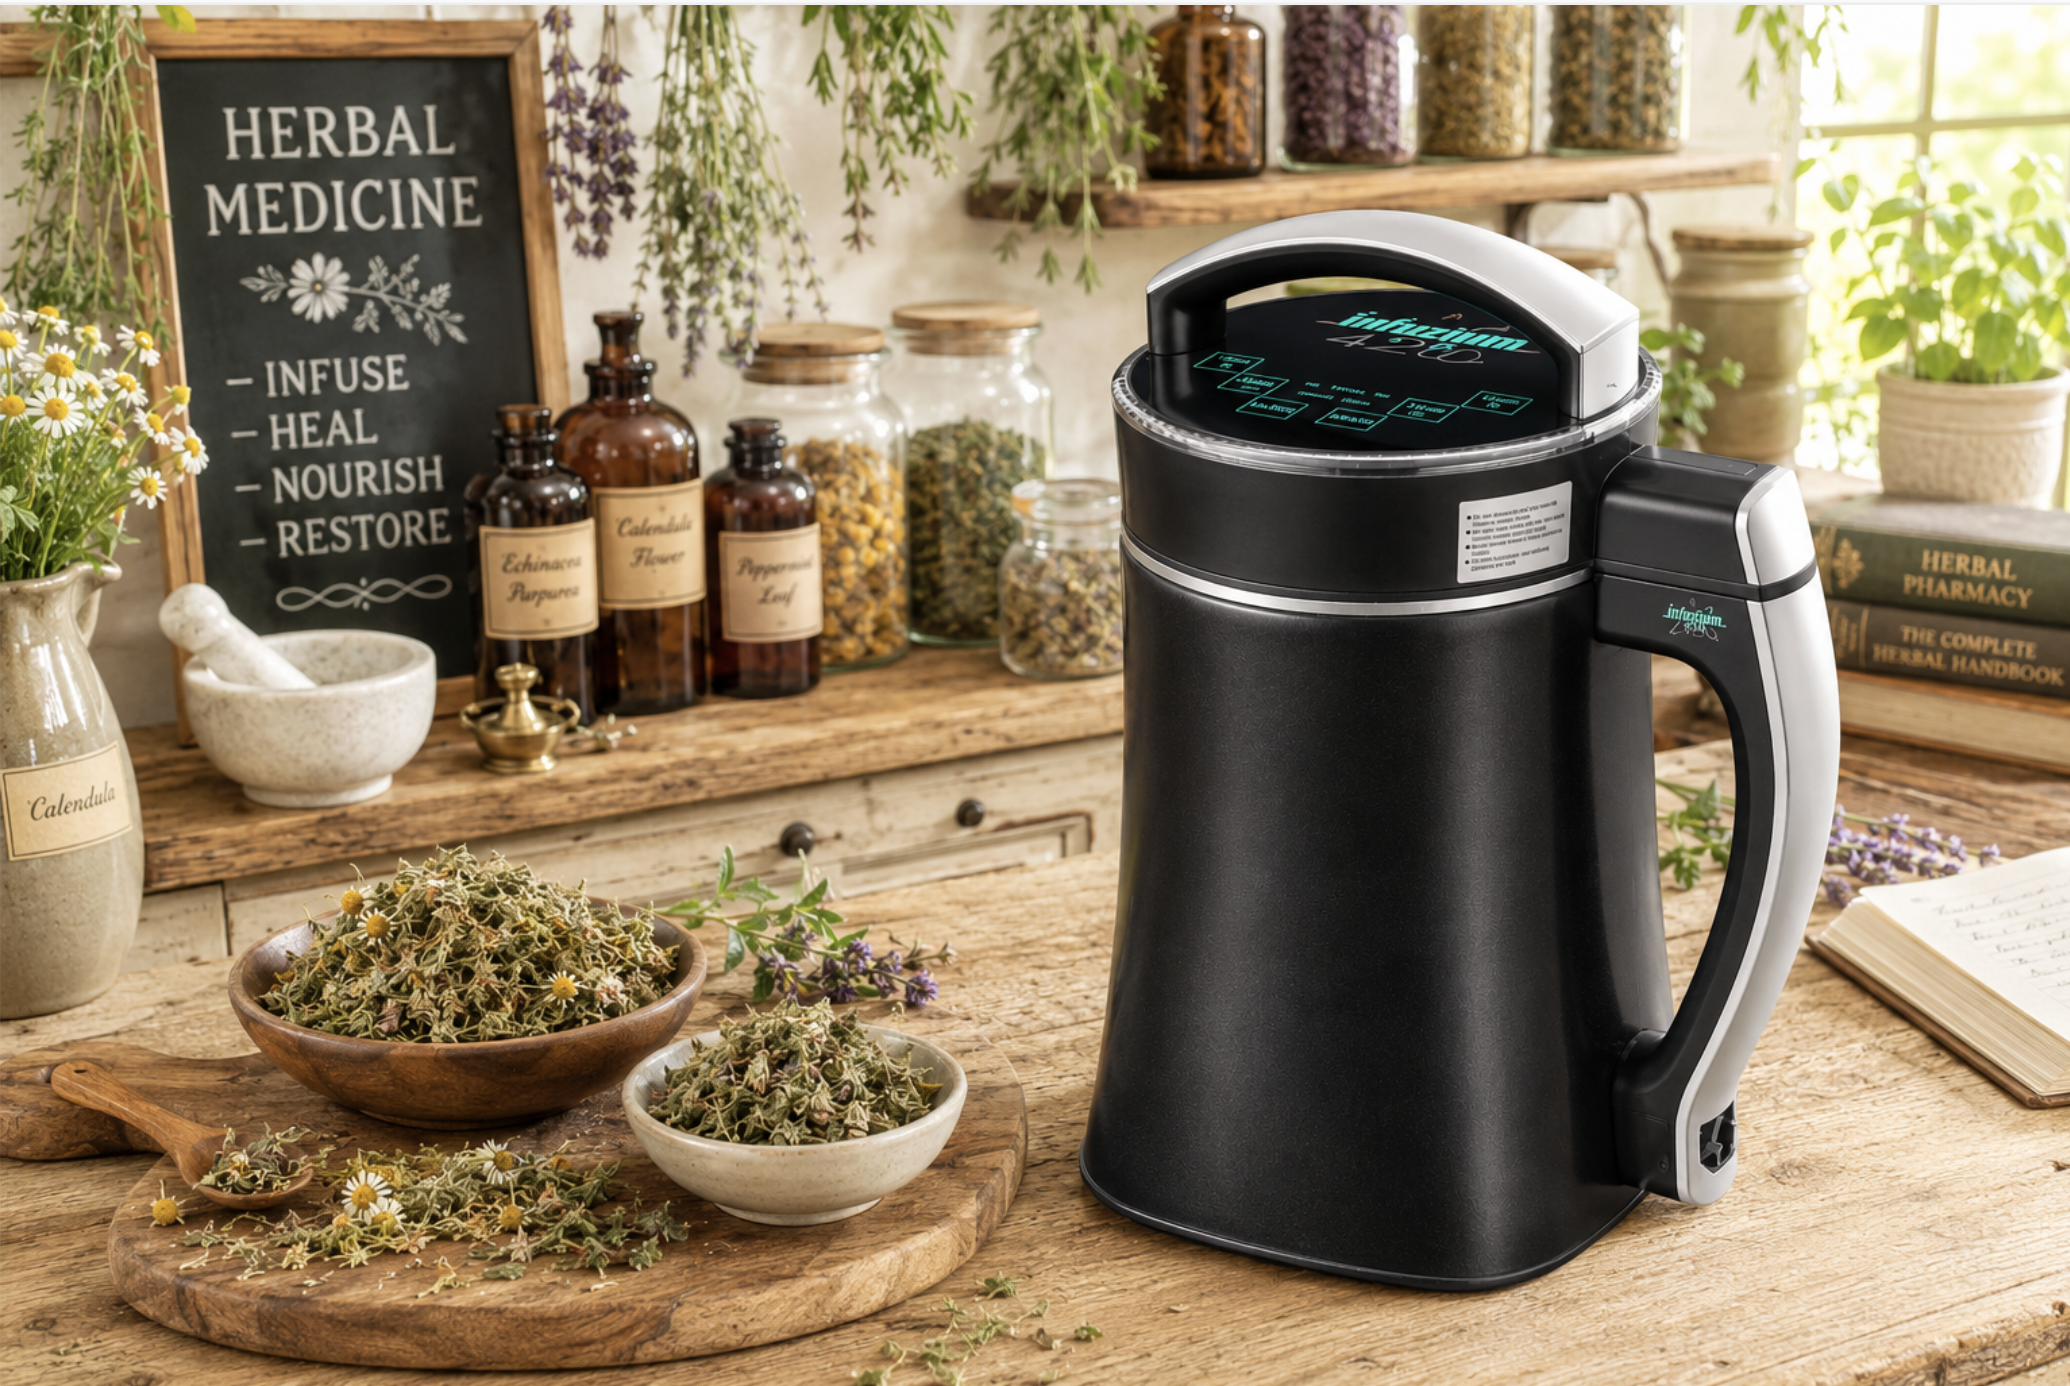
The Infuzium 420 Botanical Extractor is a countertop machine designed specifically for infusing oils with botanicals. Instead of guessing at temperatures or babysitting a slow cooker, you set an exact temperature and time, and the machine handles the rest — gently warming and circulating the oil for an even, reliable extraction.

Why Use Heat for Oil Infusion?

A gentle source of warmth does something patience alone takes weeks to accomplish: it coaxes the herb's beneficial compounds out of the plant and into your oil far more quickly. The warmth softens and opens up the plant material, helping its constituents move into the carrier oil. This is especially helpful for the stubborn stuff — roots, barks, and woody herbs that are slow to give up their goodness on their own.

The key word, though, is gentle. "Heat" here never means hot. Keep your oil within a warm, controlled range and well below the point where high temperatures begin to break down the very properties you're working to capture — which is exactly why a temperature-controlled machine makes this method so dependable.

✓ Temperature Control

Set the exact degree — no overheating, no guesswork.

✓ Consistent Extraction

Even warming and circulation for uniform results every batch.

✓ Faster Infusion

Hours rather than weeks, with reliable potency.

✓ Less Mess

Self-contained, with built-in straining for tidy work.

Recommended Gathered Remedies Settings

Our tested starting points for beautiful infused oils — always using dried herb only.

Calendula
Temp105°F
Time3–4 Hours
Lavender
Temp105°F
Time3–4 Hours
Plantain
Temp110°F
Time3–4 Hours
Rosemary
Temp118°F
Time3–4 Hours
Lemon Balm
Temp110°F
Time3–4 Hours
Chickweed
Temp110°F
Time3–4 Hours
HerbTemperatureTimePlant PartNotes
Calendula105°F3–4 hoursFlowerDelicate flower — gentlest heat
Lavender105°F3–4 hoursFlowerDelicate flower — protects aromatic oils
Plantain110°F3–4 hoursLeafSoft leaf — steady gentle heat
Rosemary118°F3–4 hoursAromatic leafSturdy aromatic leaf takes a little more warmth
Lemon Balm110°F3–4 hoursLeafSoft leaf — keep it gentle
Chickweed110°F3–4 hoursAerial partsUse thoroughly dried herb to avoid moisture
Infuzium botanical extractor with herbs and oil
Section Six

Herb-to-Oil Ratios

Two simple ways to measure — one by eye, one by weight.

The Folk Method

Measured by eye — the way herbalists have done it for generations.

½–⅔ herbs
+
Cover completely with oil

Fill your jar one-half to two-thirds full with dried herbs, then cover completely with oil. Simple, forgiving, and perfect for beginners.

The Weight Method

Measured precisely — for repeatable, scalable batches.

1:5
herb to oil
1 part dried herb to 5 parts oil, by weight.

Examples:
1 oz dried calendula + 5 oz oil
2 oz dried calendula + 10 oz oil
4 oz dried calendula + 20 oz oil

⚖️ Which Should I Use?

Use the folk method when you're learning and want simplicity. Switch to the weight method once you want consistent, repeatable batches — especially if you're making products to share or sell.

Section Seven

How to Strain Herbal Oils

The final step that separates a cloudy oil from a clear, beautiful one.

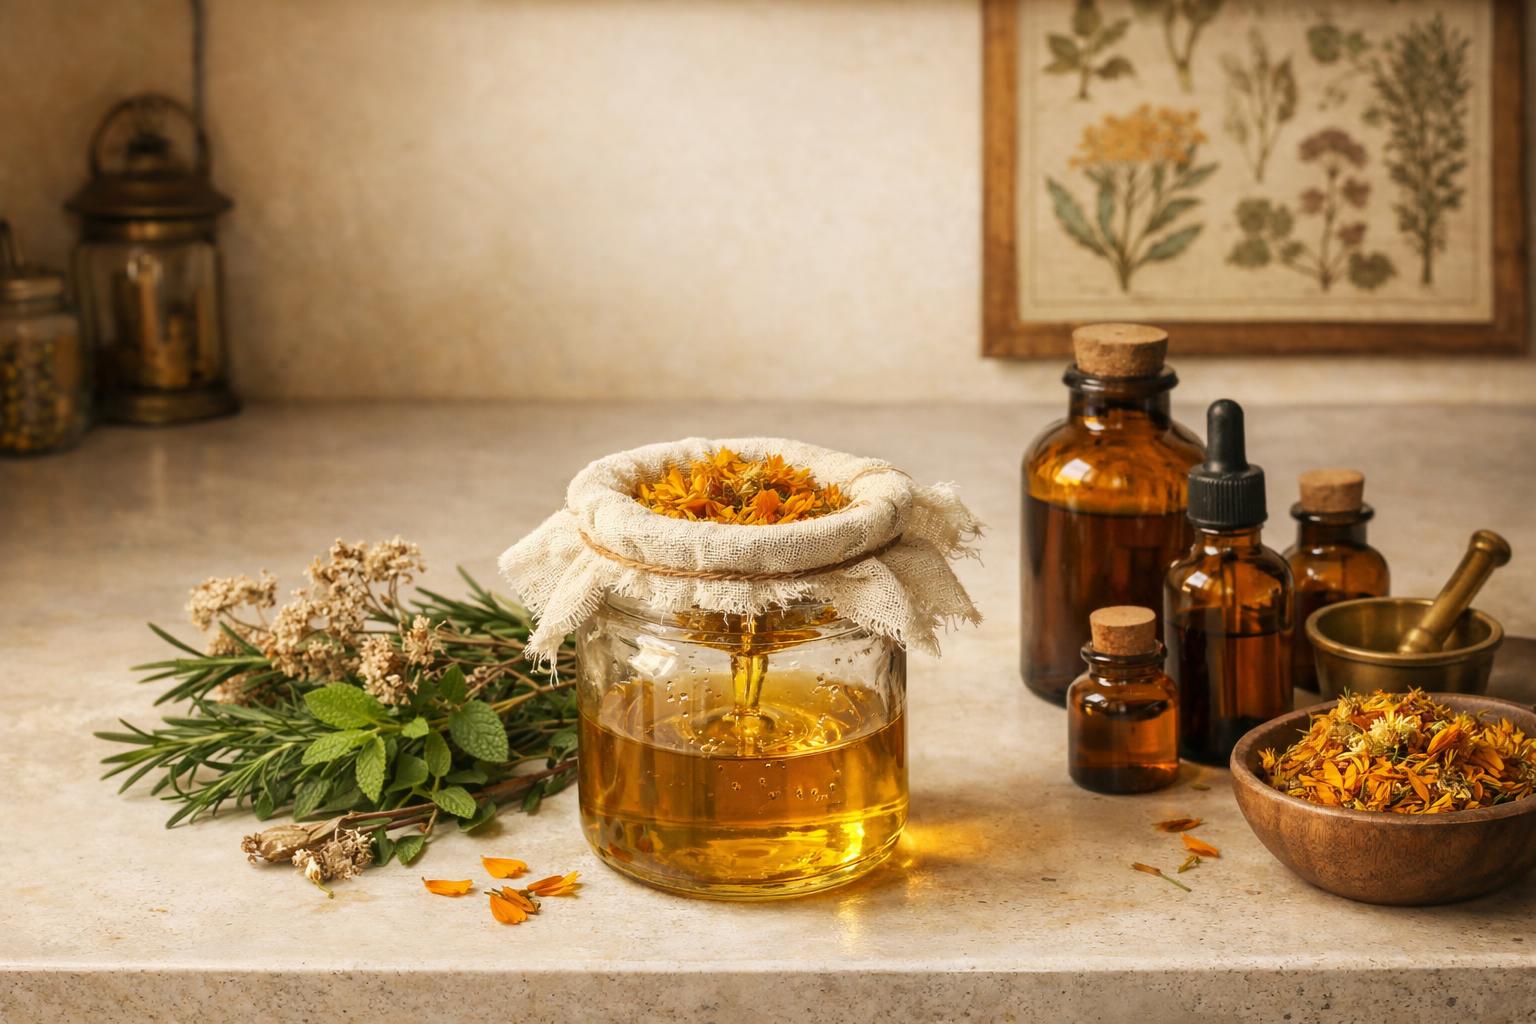
Straining oil through cheesecloth

Cheesecloth

The traditional choice. Layer it double or triple for a finer strain, then gather and squeeze.

Straining oil through a nut milk bag

Nut Milk Bag

Reusable and sturdy. Its fine weave catches even small particles and squeezes beautifully.

Straining oil through a fine mesh strainer

Fine Mesh Strainer

Quick for a first pass. Follow with cheesecloth for the clearest finished oil.

💧 Maximizing Oil Recovery

  • Let the oil drip freely first, then gather the cloth and squeeze firmly — the last drops are the richest.
  • Warm oil flows more easily than cold, so strain while slightly warm if possible.
  • For the clearest oil, strain twice: once through mesh, once through cheesecloth.
  • Let strained oil settle a day, then decant off the top, leaving any sediment behind.
Section Eight

Shelf Life & Storage

Treat your finished oil well and it will reward you for many months.

🏺 Best Storage Conditions

Store infused oils in a cool, dark, dry place — a cupboard or pantry away from the stove and sunlight is ideal. Heat and light are what turn good oil rancid, so keep both at bay. Amber or cobalt glass offers the best protection.

🌿 How to Avoid Rancidity

  • Always use thoroughly dried herbs — moisture is the leading cause of spoilage.
  • Strain out every bit of plant material before long-term storage.
  • Choose oils with longer shelf lives (jojoba, MCT) for blends you'll keep a while.
  • A few drops of vitamin E oil can help extend shelf life naturally.

Signs an Oil Has Spoiled

  • A sharp, sour, or "crayon-like" rancid smell
  • Cloudiness, fuzzy spots, or visible mold
  • A bitter or off taste
  • When in doubt, throw it out — a spoiled oil isn't safe for the skin.
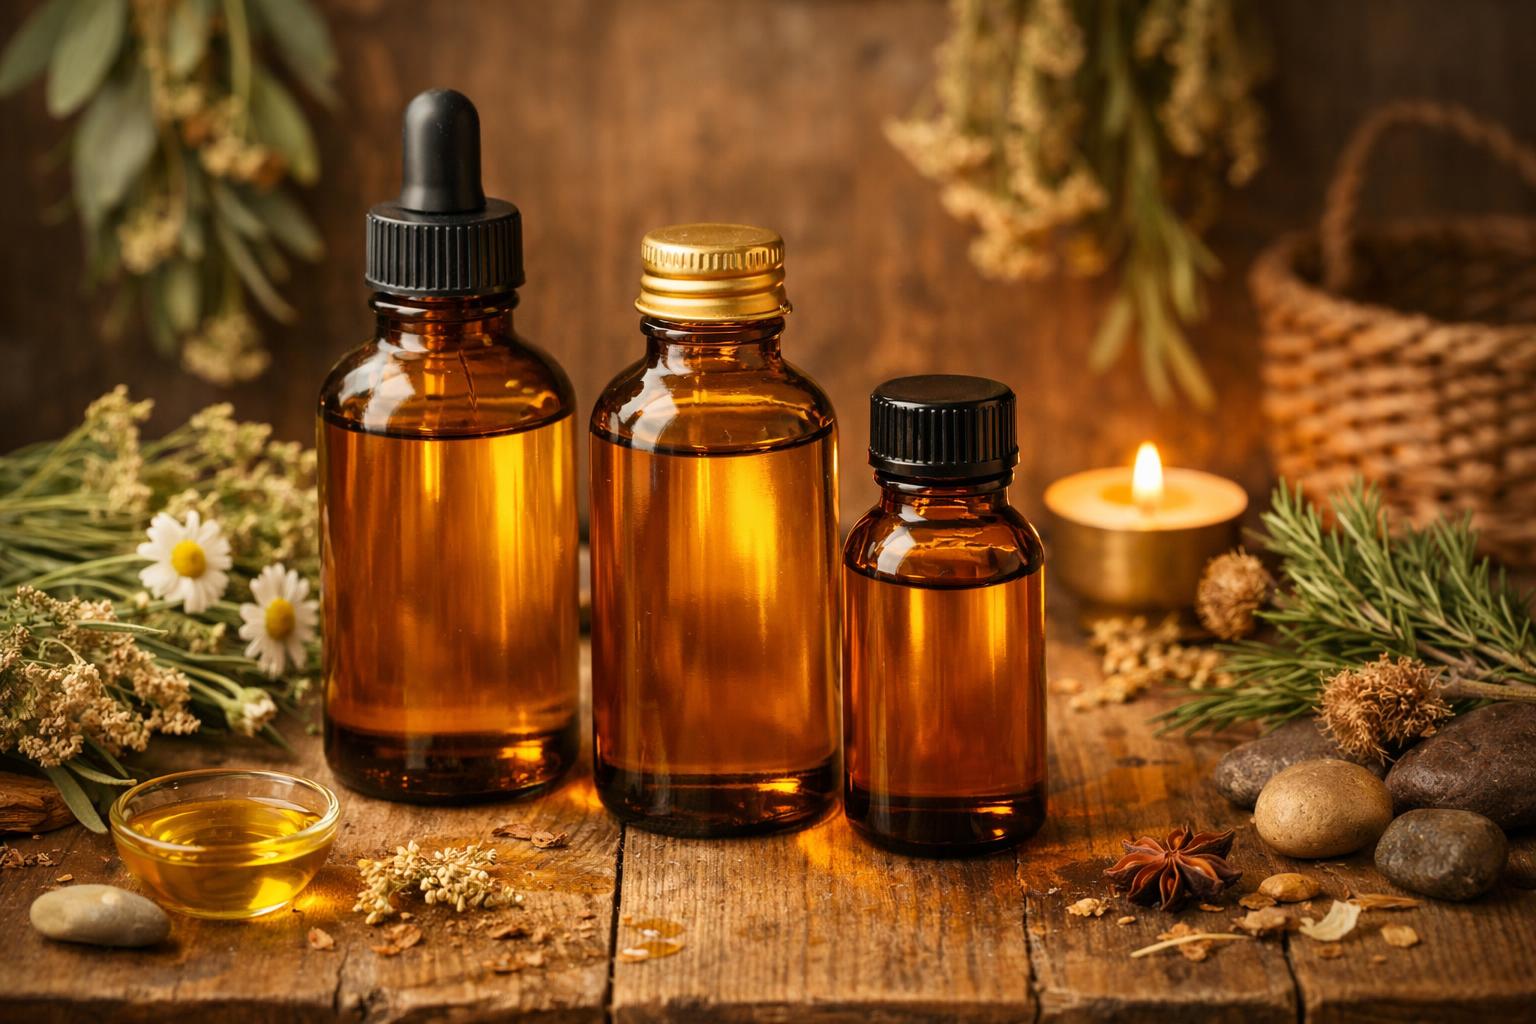
Amber glass bottles

Amber Bottles

Block light — best for long storage.

Clear glass bottles

Clear Bottles

Show off color — keep in a dark cupboard.

Dropper bottles

Dropper Bottles

Perfect for facial oils and precise use.

Pump bottles

Pump Bottles

Ideal for everyday body oils.

Section Ten

Frequently Asked Questions

Can I use fresh herbs?
Yes, but with care. Fresh herbs carry water that can spoil your oil, so wilt them for 12–24 hours first to release excess moisture. Some herbs (like St. John's Wort) are traditionally made fresh. For your first batches, though, dried herbs are far more forgiving.
Why is there condensation in my jar?
Condensation usually means moisture is present — often from herbs that weren't fully dried, or from temperature swings. Moisture leads to spoilage, so if you see beads of water forming, decant the oil away from the moisture promptly and use thoroughly dried herbs next time.
How long do infused oils last?
Most infused oils keep well for about one year when made with dried herbs and stored in a cool, dark place. Oils like jojoba and fractionated coconut can last considerably longer thanks to their natural stability.
Can I mix different herbs together?
Absolutely. Combining herbs lets you create custom blends — calendula and lavender, for instance, make a lovely soothing oil. Just keep similar plant parts and infusion times together for an even extraction.
Can I use powdered herbs?
It's best to avoid powders. They're nearly impossible to strain out fully and leave a gritty, cloudy oil. Stick with whole or cut-and-sifted dried herbs for a clean, clear result.
Can infused oils be used in salves?
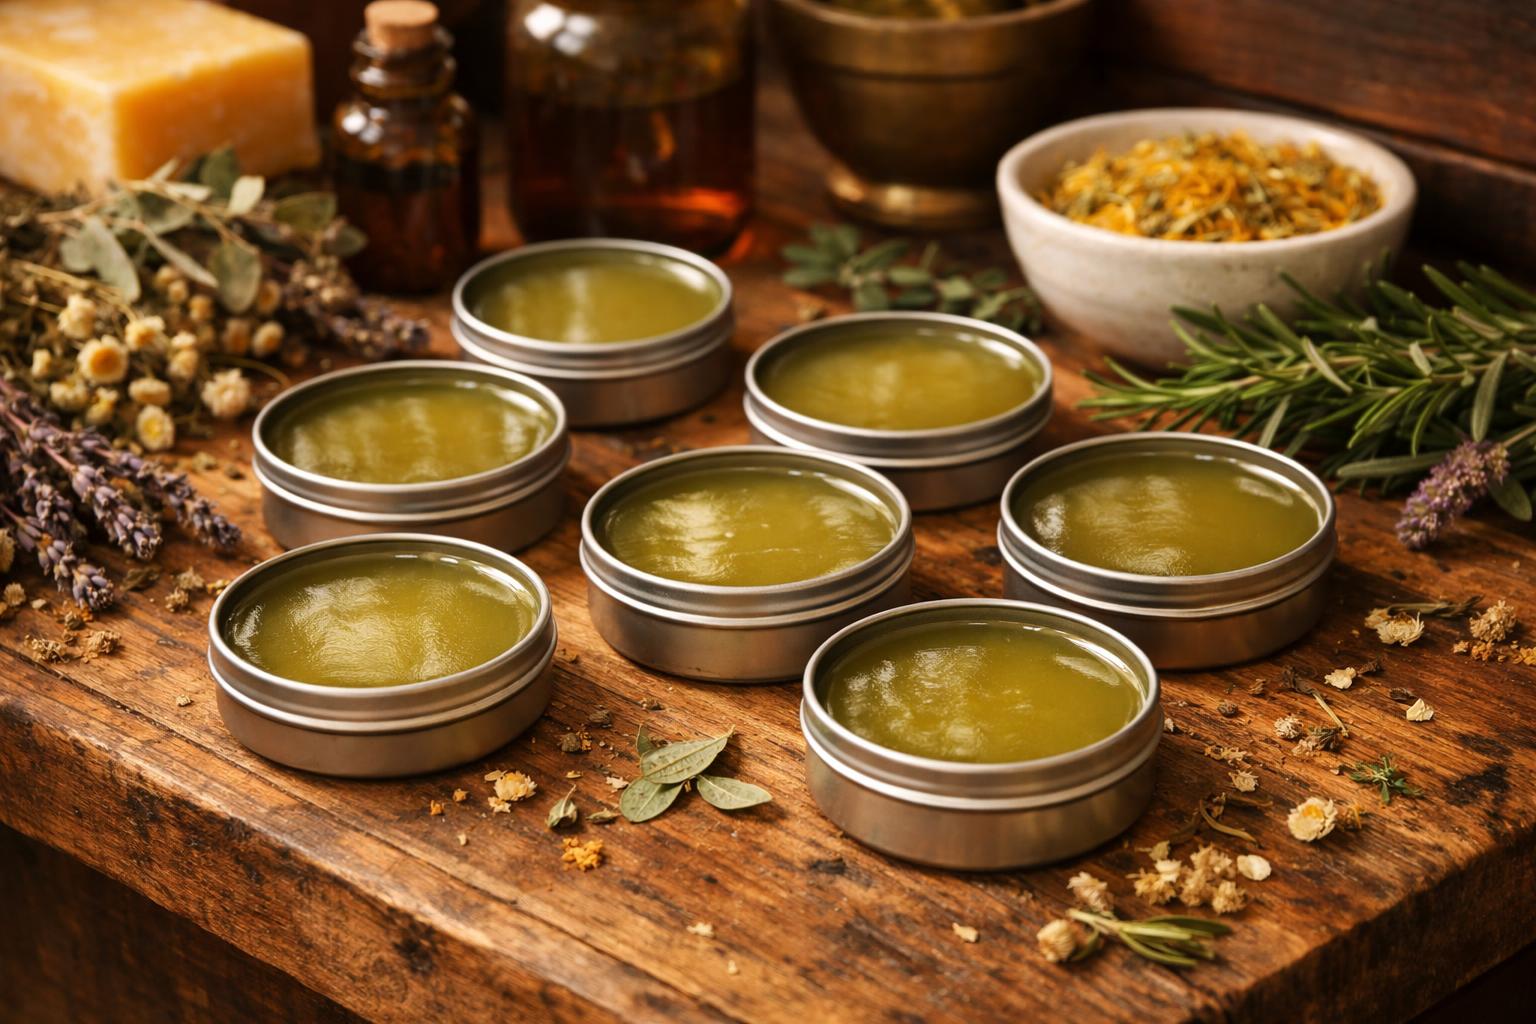
Yes — this is one of the most popular uses! Infused oil is the foundation of nearly every salve and balm. Simply warm your finished oil with beeswax to create a solid, spreadable remedy.
What is the strongest infusion method?
A long, patient solar (or warm-cupboard) infusion of 4–6 weeks often yields a deeply potent oil, while gentle heated methods like the Infuzium give consistent strength much faster. The "strongest" depends on the herb — but proper herb-to-oil ratio and full infusion time matter more than the method itself.
Keep Going

What to Make Next

Your infused oil is the doorway to a whole apothecary of remedies.

Herbal education rooted in faith, family, and sustainable living from our little Midwest farm to your home.

"And the leaves of the tree were for the healing of the nations." — Revelation 22:2

This information is for educational purposes only and is not intended to diagnose, treat, cure, or prevent any disease. Always consult a qualified healthcare provider before using herbs, especially if you are pregnant, nursing, taking medication, or managing a health condition. Patch-test any new oil before applying widely.